Monday, February 28, 2011

Next time, do it properly!

This weekend I decided to change the fiddle yard area. The original was a bit of a bodge job... for starters I used 6mm MDF instead of 9mm that I used on the main board. This required me to build up a massive amount of cork underlay and also exasperated the difference in height which occurred from one end of the loop to the other.

The other issue I had was the inner siding and points combination. This combined with changing heights caused all sorts of problems with the locos - bad connections, derailments etc. It basically meant the siding was useless.

I removed all the track and cork from the board and then removed the board entirely, replacing it with a equal sized piece of 9mm MDF.

I then laid a single piece of cork sheet, with extra height on beach side as the attached extension board on that side is a millimetre or so higher.

The outer loop and siding was relaid as before. However the inner loop has undergone a transformation. The inner siding is now a complete loop, and the complication siding junction as gone and the siding feeds directly into the 3rd platform at the town side station from a a new curved point from the other side of the fiddle yard.


Whilst the outer loops are all radius two or great I have had to compromise with the inner most loop, using radius one curves. As the original inner siding was also radius one I don't see this as backward step, although its not necessarily a satisfactory solution either. But given the space it really is the only solution!

All the wiring has been redone (mostly reused, I only had to solder one more wire!) and connected, and the next step is to test the circuit and the locos for reliability.

New track plan...

Friday, February 4, 2011

Town Plan

A quick mock up of the town as currently planned in my head.

Upper town level

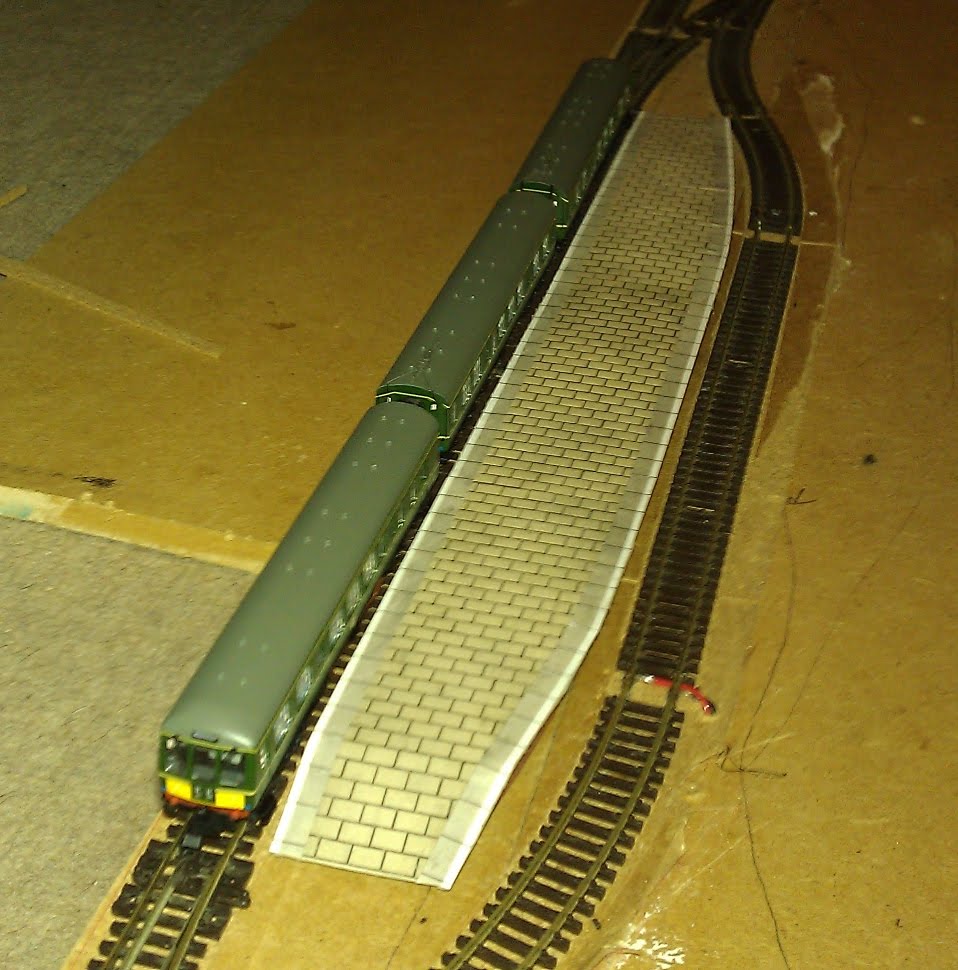
Last weekend I put on the upper town level for the scenery, along with fixing the backdrop separators in place. I also added a layer of cork to raise the platforms to the correct level. I'm not overly happy with fit of the platforms against the track - I'm not sure what happened between me measuring the platform sizes and placing them but with a little bit of hammer persuasion on the track it fits a little better now.


Seemed to have made a mistake (maybe) in the sizing of the upper town section as the narrow bit along the middle is a little too thin for my liking. Last time I guestimate!

Saturday, January 29, 2011

Yay!

Loft ladders installed! Woo hoo!

Tuesday, January 25, 2011

More platforms

Something I have realised doing this project already is that I should have made the platforms first BEFORE I laid the track. First of all, it was more difficult to trace the shape of the platform onto a template to get the platform shape. Secondly, I seemed to have got a very odd platform shape... thinner at one end than the other, and not entirely straight. I have actually gone and straighten the track and platform after finding this. I got around the template by drawing the platform shape onto the board directly and then using grease-proof paper as tracing paper to copy the shape and make the template.


This time I was much quicker at building the platforms for the town station. I also decided to use the standard concrete board the supply in the kit. The instructions supplied with the kit are decent enough, although this is a simple kit. The part about drawing the platform template using a felt tip pen attached to a piece of rolling stock such as a coach was invaluable, although probably obvious to the seasoned model builder!

And here are the finished articles, although they have yet to make it onto the layout.


To be honest, before I started with the Metcalfe kit I had by doubts about how they were going to look, but in truth I'm fairly impressed with the outcome. I have now got two more kits to construct for the town platform buildings - and they are a lot more complicated!

Monday, January 24, 2011

Backboards and platforms

As the title suggests, I have put in the backboards and built my first platform.


The backboards have been trimmed down to be the same height, and also low enough to go under the bed for storage. The town side has a two level effect. I have a few ideas for that but I'm not sure If I will utilise it yet. The main idea is that as this area is a bridge the other side will have no background - the scenery is left open.


I have built my first platform (ever) from a metcalfe kit which I modified by adding metcalfe self adhesive paving sheets instead of the standard concrete grey board they supply. Incidentally, it seems that the Metcalfe self adhesive items are not very sticky, so it all required a dab of PVA glue to help it stick. I also found that it helped if I carved away the backing of the brick walls under the platform to leave a tiny brick paper flap that covered the grey card ends of any joining walls and thus improve the look. All in all I'm pretty happy with my first attempt! I will look at some point into how I can darken and weather slabs on the platform more - I was thinking I could mix some sort of thin paint wash to paint over it. More research needed here.


The platform also stands too low on its own, so needs a layer of cork underneath when placed.


Other improvements include trimming and tidying the cork underlay as well.

And finally, just to make sure all work is carried out satisfactorily, the site foreman - erm, cat - Sox is on hand to oversee the work!


More importantly, you can see the two poles behind her, and the reason why I had to cut a hole in my beach!

Thursday, January 20, 2011

Strange Santa


For Christmas my darling wife bought me a Noch illuminated Christmas tree for the winter side. It's going to look great, but I wasn't expecting the strange little figure that came with it.


I just can't decide if it is a Santa Claus, a Priest or a festive member of Kraftwerk ;)

Answers on a postcode...