Saturday, January 29, 2011

Yay!

Loft ladders installed! Woo hoo!

Tuesday, January 25, 2011

More platforms

Something I have realised doing this project already is that I should have made the platforms first BEFORE I laid the track. First of all, it was more difficult to trace the shape of the platform onto a template to get the platform shape. Secondly, I seemed to have got a very odd platform shape... thinner at one end than the other, and not entirely straight. I have actually gone and straighten the track and platform after finding this. I got around the template by drawing the platform shape onto the board directly and then using grease-proof paper as tracing paper to copy the shape and make the template.


This time I was much quicker at building the platforms for the town station. I also decided to use the standard concrete board the supply in the kit. The instructions supplied with the kit are decent enough, although this is a simple kit. The part about drawing the platform template using a felt tip pen attached to a piece of rolling stock such as a coach was invaluable, although probably obvious to the seasoned model builder!

And here are the finished articles, although they have yet to make it onto the layout.


To be honest, before I started with the Metcalfe kit I had by doubts about how they were going to look, but in truth I'm fairly impressed with the outcome. I have now got two more kits to construct for the town platform buildings - and they are a lot more complicated!

Monday, January 24, 2011

Backboards and platforms

As the title suggests, I have put in the backboards and built my first platform.


The backboards have been trimmed down to be the same height, and also low enough to go under the bed for storage. The town side has a two level effect. I have a few ideas for that but I'm not sure If I will utilise it yet. The main idea is that as this area is a bridge the other side will have no background - the scenery is left open.


I have built my first platform (ever) from a metcalfe kit which I modified by adding metcalfe self adhesive paving sheets instead of the standard concrete grey board they supply. Incidentally, it seems that the Metcalfe self adhesive items are not very sticky, so it all required a dab of PVA glue to help it stick. I also found that it helped if I carved away the backing of the brick walls under the platform to leave a tiny brick paper flap that covered the grey card ends of any joining walls and thus improve the look. All in all I'm pretty happy with my first attempt! I will look at some point into how I can darken and weather slabs on the platform more - I was thinking I could mix some sort of thin paint wash to paint over it. More research needed here.


The platform also stands too low on its own, so needs a layer of cork underneath when placed.


Other improvements include trimming and tidying the cork underlay as well.

And finally, just to make sure all work is carried out satisfactorily, the site foreman - erm, cat - Sox is on hand to oversee the work!


More importantly, you can see the two poles behind her, and the reason why I had to cut a hole in my beach!

Thursday, January 20, 2011

Strange Santa


For Christmas my darling wife bought me a Noch illuminated Christmas tree for the winter side. It's going to look great, but I wasn't expecting the strange little figure that came with it.


I just can't decide if it is a Santa Claus, a Priest or a festive member of Kraftwerk ;)

Answers on a postcode...

Wednesday, January 19, 2011

DCC Conversion Complete

Well, I have finally got my loco fleet DCC chipped and running.

As this is my introduction to DCC I made a bargain purchase off eBay of a Bachmann E-Z Command Control Centre for around £30. As it happened I was visiting Plymouth (where the selling lived) for my brothers wedding the very weekend after I won the auction so I didn't need to pay P&P on top of that. As a beginner this controller makes an excellent and cheap starting point.


I then decided to sell all my old loco fleet (which I have probably mentioned previously) and buy all new DCC-ready Bachmann-Farish locos (their new blue-ribbon standard ones). Being DCC-ready they have the 6-pin decoder sockets underneath the shell, and are designed to take the Bachmann E-Z command decoder chips (product code 36-558).

The fitting of the chips was relatively easy. The steam locos, with the exception of the 3MT tank, all had the chips fitted in the tender. Following the instructions these were all relatively easy to fit. Each tender has 4 screws holding in the tender shell to the chassis (there are more screws so be careful to undo the right ones as per the instruction sheet). Once removed, the shell will unclip from the chassis with a bit of careful easing. The socket contains a small circuit board 'blanking plate' for DC running. This is then removed and replaced with the new decoder chip. This has to be put in the right way round to work. However if it goes in the wrong way no harm will come to the loco or decoder, it just won't doing anything.


Two helpful hints when fitting the decoders:

1, Pin 1 on the decoder seems to be indicated with a small grey dot/square.
2, Remember which end pin 1 ones before you pull out the blanking plate (it is indicated on the plate) so you know which way to put the decoder in!

The 3MT tank was even easier to fit. There are two screws under the front bogey. One of these, as per the instruction sheet, holds the shell on. Once unscrewed, again the shell unclips and the socket is revealed.

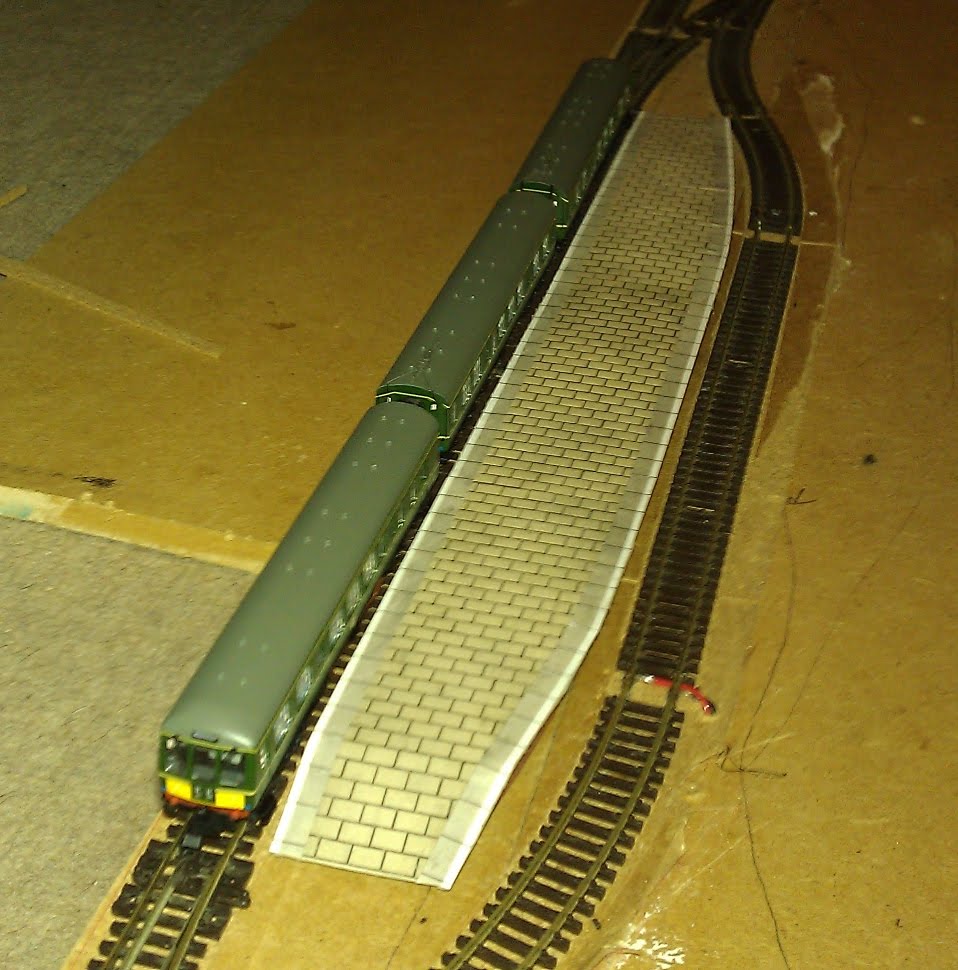
The worse one to fit was my 3 car Class 108 DMU. There are no screws holding the shell onto the chassis here (WHY?!?!?) the shell is just clipped into place. What's so difficult about that? I hear you ask! Well, firstly the shell is clipped on so tightly and in so many places that you seem to require the many arms of Vishnu to be able to prise the shell from the chassis in all the places it is clipped. I found on many occasions unclipping one side just lead to the other side clipping itself back on. Secondly, given you have your brand new DMU with all its fragile detailing on the underside its very difficult to apply enough pressure to unclip the shell (of which you need quite a bit) without begin constantly worried about snapping something off. And even worse than this, the DMU set requires two decoders fitting, one to the drive car and one to the dummy (for lights). So you have to go through this pain twice!

I did in fact break something off the bottom of one of my DMU cars in the process of fitting the chips, but it was easily fixed with a spot of superglue. Can you see where?! ;)


One other word of warning with the DMU - the seats and the lighting units seem to have a tendency of moving around when the shell comes off... ie, they try and come off with it in some cases. The lights in the dummy car have since stopped working between now and the last time I used it. So lucky old me I'm going to have to get the shell off again and fix it!

So finally, my loco fleet is up to date (although undressed - Mars still needs its name plate), And here is the final roll call (for now!)... (all from the late crest BR era)

Class 108 DMU (3 car)
Royal Scot "The Royal Air Force"
Jubilee class "Mars"
Black 5
3MT tank engine

Wednesday, January 12, 2011

Relocation Relocation Relocation!

I have finally found a dry warm permanent place to keep my railway, with only one small comprise to the board itself! After convincing the wife its the only reasonable place for it(!), its now under the bed!


The one compromise I have had to make is to cut a small section out of the beach area where the supporting legs in the middle of the bed get in the way of sliding it under the bed properly. Without this mod it would stick out a long way, and that isn't compatible with the wife!


I have also added carpet/furniture sliders to the underside of the railway to ease moving out and back under the bed again.

More soon...